Plants are the lens Jessie views the world through because they’re all-sustaining. (“They feed, clothe, house and heal us. They produce the air we breathe and even make us smell pretty.”) She’s a garden writer and photographer with degrees in both horticulture and plant biology from Purdue and Michigan State Universities. Her degrees were bolstered by internships at Longwood Gardens and the American Horticultural Society. She has since worked for many horticultural institutions and companies and now manages communications for Sun Gro Horticulture, the parent company of Black Gold. Her joy is sharing all things green and lovely with her two daughters.
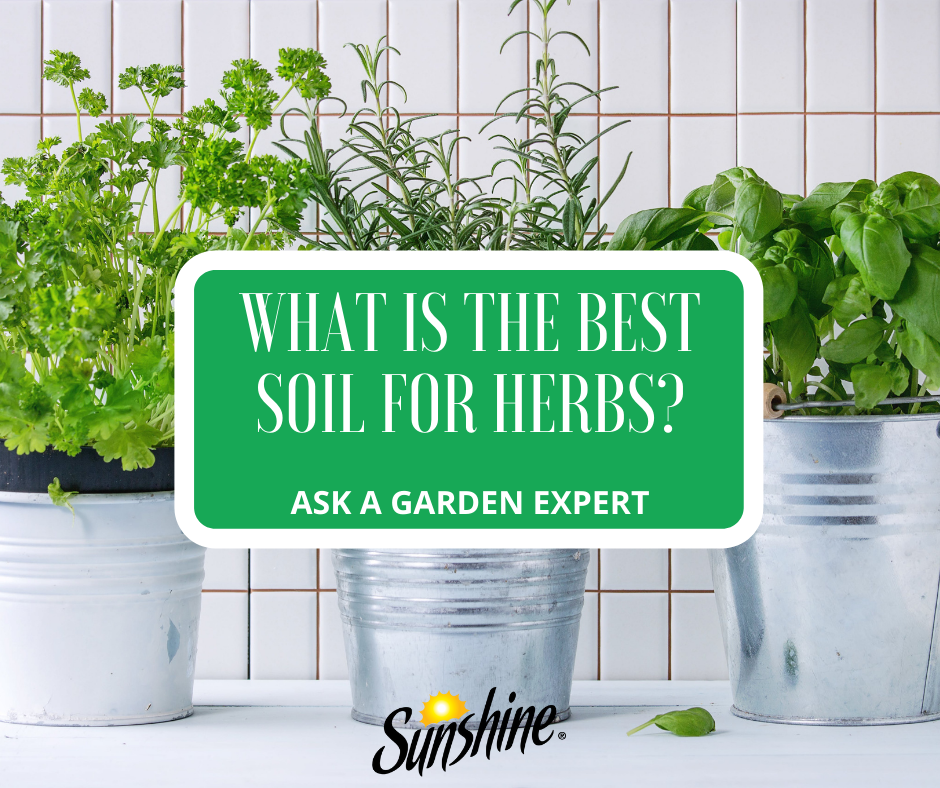
“What is the best soil to use when planting a container herb garden?” Question from Joanne of Ocala, Florida
Answer: You are in luck! Herbs are some of the easiest plants you can grow, if given the right growing conditions and soil. Almost all herbs require full sun, fertile soil with good drainage, and average water. Some are perennials (meaning they will survive for more than one season) and others are annuals (meaning they will survive just one growing season). All are easy to harvest. Just clip the leaves as you need them, while leaving enough to keep plants full and healthy.
Soil for Herbs
At planting time, be sure to give them good soil that is porous, fertile, holds water, and drains well. If planting them in pots, they grow beautifully in Sunshine Mix #4 with Mycorrhizae, which drains well, holds water, and has natural mycorrhizae to enhance growth. If you ever want to grow them in the ground, plant them in a prepared, weed-free garden, and work some Sunshine® Natural & Organic Planting Mix into the soil at planting time for added fertility.
After your herbs have been initially planted, water them every other day to encourage establishment. After a couple of weeks, reduce watering unless conditions are dry. Potted herbs will need to be watered every other day, or even daily, during the summer, especially when the weather is hot and windy. Add a slow-release fertilizer at the beginning of the season to ensure that they grow their best. (Click here for more information about essential culinary herbs.)
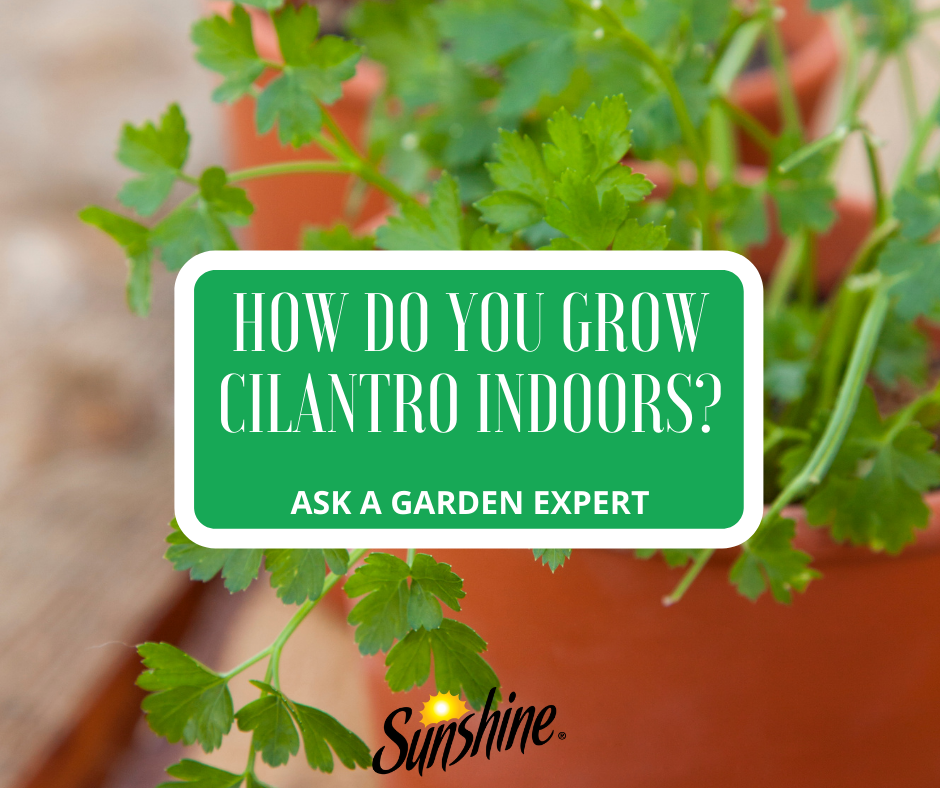
“What is the best practice to ensure a window-sill cilantro plant will thrive? I have a green thumb and can grow or rehab practically any plant/flower/herb/garden. However, each time I’ve purchased a cilantro plant, it wilts after a few months. I only water when dry. Thank you!” Question from Ann of Raleigh, North Carolina
Answer: Cilantro (Coriandrum sativum) is a short-lived annual herb that grows best in full sun and cooler temperatures between 65–70°F. That’s why it dies away after a few months after flowering. It’s just what annuals do. My recommendation is to start it from seed in pots along a sunny windowsill and keep replanting as needed.
Growing Cilantro from Seed
Cilantro seeds germinate well in Sunshine Natural & Organic Planting Mix. Simply sow the seeds, cover them lightly with 1/8 of an inch of soil, and water them thoroughly. Then keep the seeds lightly moist by spritzing them with water. Expect them to sprout in a week to ten days. Then keep the soil just moist by watering from the bottom. It also helps to apply an application of water-soluble fertilizer weekly after they begin to grow. Typically, you can start trimming the leaves for cooking after a few more weeks. Microgreens can be harvested earlier.
Cilantro remains leafy for only a couple of months before it starts to send up stems of white, lacy flowers. If you let it flower and set seed, you can harvest and dry the coriander seeds for pickling and cooking. If you prefer cilantro, then pull the plants as they flower, and plant seeds anew. You might even maintain a couple of pots and plant them several weeks apart to ensure you have a constant flow of cilantro.
Some cilantro varieties stay leafy longer than others. ‘Calypso‘ is one of these. It is generally ready to harvest 50 days after planting.
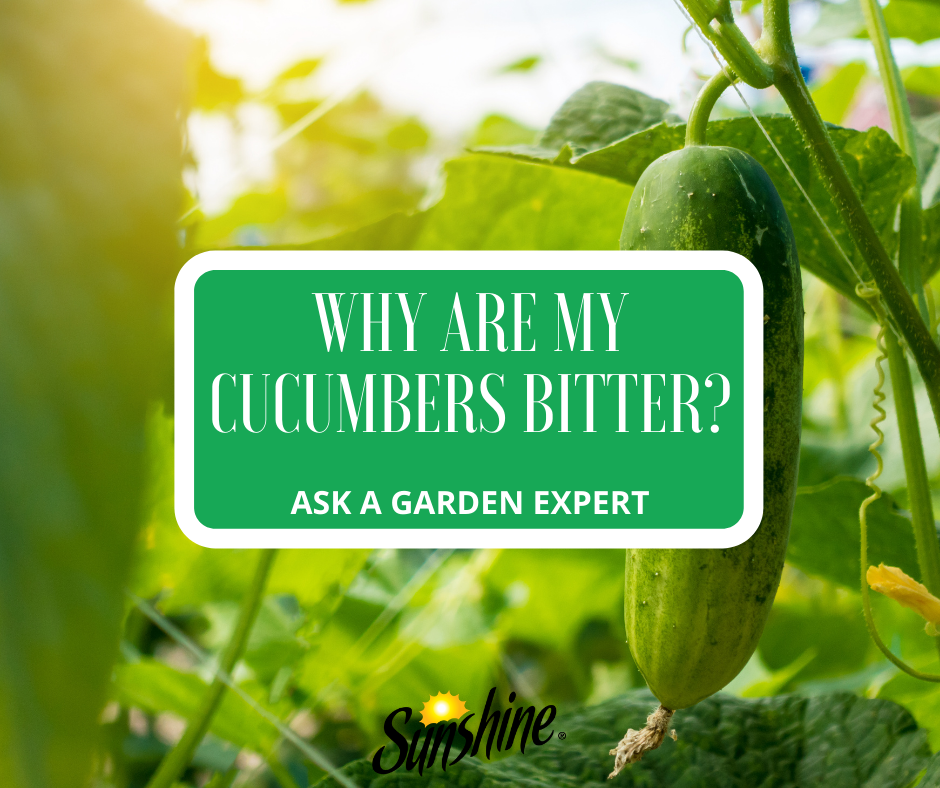
“I am growing the same cucumbers this year as last year. Every cucumber this year looks beautiful but tastes very bitter and is inedible. I believe I am providing adequate water, though due to the heat the plants still wilt during the day. What can I do to improve the flavor? ” Lisa of Marietta, Pennsylvania
Answer: There are two things that can cause cucumbers to become bitter – the cultivated variety and environmental stress (heat stress, water stress, or disease). A great Oregon State University (OSU) article on the subject quotes the vegetable breeder, Jim Myers of OSU. He explains that the source of cucumber bitterness is caused by the natural plant chemical, cucurbitacin. It exists in high quantities in the leaves and stems of cultivated cucumbers. During stressful summers, concentrations can build up at different levels in the cucumber fruits as well; often at the blossom end. What’s odd is that sometimes a single plant may have some bitter fruits and some nice-tasting cucumbers, so taste each one to double-check before composting. The same plant may also produce sweeter fruits as growing conditions become better.
Non-Bitter Cucumber Varieties
Some varieties tend to reliably produce sweet cucumbers, even under stress. Here are five excellent cucumbers that resist bitterness.
‘Katrina‘- The crisp, seedless, Beit-Alpha-type cucumber is also very disease-resistant and stays sweet.
‘Jibai Shimoshirazu’ – This heat-tolerant, Japanese snacking cucumber never gets bitter!
‘Green Light‘ – There is a reason that this cucumber was a 2020 All-America Selections winner. Its fruits are crisp, sweet, prolific, and resist bitterness.
‘Marketmore 97‘ – This classic, disease-resistant cucumber is known for its ability to stay sweet, even when stressed.
‘Unagi’ – After reading about this one, I plan to grow it next year. Its hybrid cucumbers are crisp, sweet, and very prolific.
“Is it possible to grow any vegetables indoors in a sunny room with a grow light? I live in NE PA, and we have long cold winters. I would love to grow veggies over the winter. I have a room that I think would work.” Question from Melanie or Susquehanna, Pennsylvania
Answer: What a nice space! You can certainly grow container vegetables in your bright, sunny room. It offers so much natural sunlight that only some supplemental grow lights will be needed, if any. Vegetables will grow best in the sunniest window. A south-facing exposure is optimal.
Supplemental light may only be needed, if you grow fruiting vegetables that need extra sunlight, like tomatoes and peppers. Greens and herbs should not require supplemental light; your bright windows and skylights should be enough. As far as grow-light options, if you need to supplement choose a tall, adjustable grow light (click here for an example). (Click here for more information about different grow light types and options.)
From there, I recommend that you watch the video and read the article below. They should give you all the details that you need to grow vegetables inside.
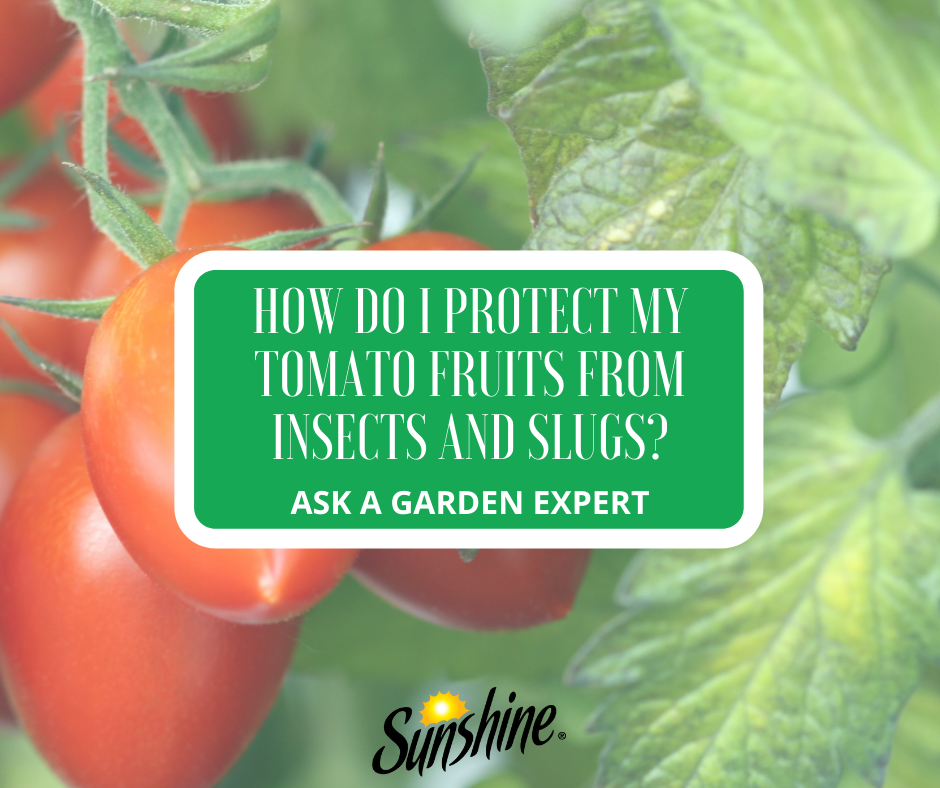
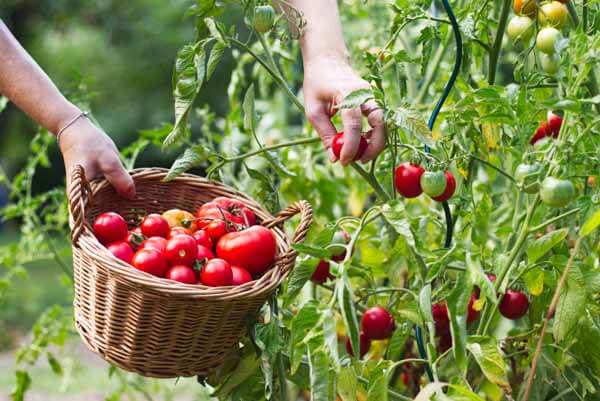
“How can I keep bugs and slugs from destroying my tomato fruit? They totally decimated my crop this year leaving me nothing to can for the winter months.” Question from Sylvia of Belle Plaine, Minnesota
Answer: There are several things that you can do to ensure that insects and slugs don’t damage your tomatoes. Here are six methods.
Six Ways to Stop Pests from Eating Tomatoes
Clean your vegetable beds up completely in the fall, and till lightly in the spring. This will remove any overwintering pest eggs.
In the spring, apply a layer of quality compost as a surface mulch to stop weeds and create an open, weed-free layer to keep slugs away (slugs often hide in weeds).
Use tall tomato cages, and prune your tomatoes to keep developing fruits off of the ground and away from slugs and critters.
Apply diatomaceous earth at the base of your tomato plants to deter slugs. You can also use Sluggo, a good slug killer that is approved for organic gardening.
Plant your tomatoes in the full sun (8+ hours) at least 3-4 feet apart, leaving space between plants. This will discourage slugs, which cannot withstand the sun and avoid open ground.
Apply BT spray, which is also approved for organic gardening, if tomato hornworms or other caterpillars attack your plants and fruits.
The new vegetable gardener will succeed if given the right information from the beginning.
With decades of vegetable gardening experience under my belt, it’s easy to take the years of knowledge for granted. It’s like riding a bike. I garden on cruise control and react or learn quickly when faced with a new challenge. In turn, years of teaching new gardeners have kept me in touch with the challenges they face. Sound, step-by-step advice is invaluable–potentially averting years of mistakes and poor yields. Getting the big picture of a new garden venture from the start will set the wheelbarrow rolling in the right direction. The new vegetable gardener will be quickly rewarded if modest goals are established from the beginning and time is set aside for the project.
Planning your garden on paper will help you visualize and plan for the project.
Plan Ahead: Determine your garden’s location, size, and crops before you break ground. Vegetable gardens require full sun (8-hours or more per day) and soil that drains well. Gardening is a commitment that often takes more time and labor than anticipated. If you have never gardened before, plan small in the first year to keep it enjoyable and manageable. It will help you succeed from the start and determine how to grow your garden in future years. (Click here for a good article about planning a garden, and click here for an article about rotating crops through the season.)
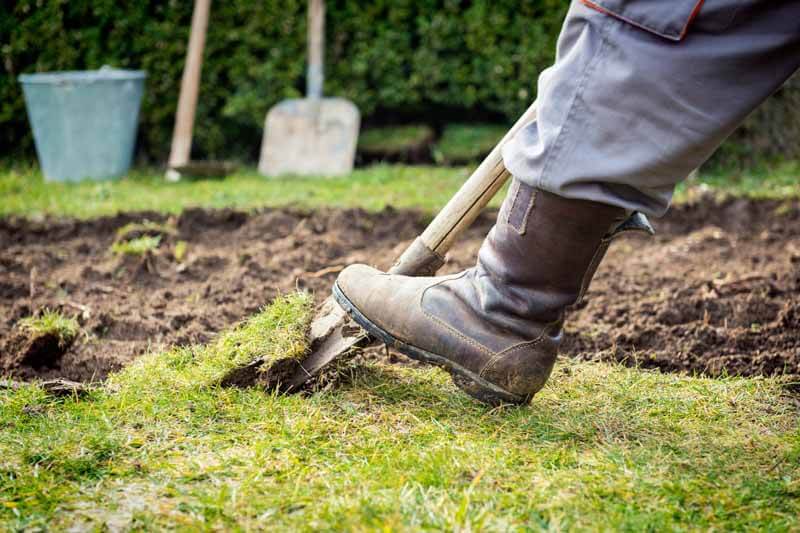
Sod removal takes work but is worth the effort.
Start Clean: Remove all of the turf from your soon-to-be garden bed. That means manually skimming off the sod with a sharp spade or using an automated sod cutter, which can be rented. I recommend the latter if you have planned a large garden. The bed should be small enough for you to reach into from all sides or large enough to add a walkway for easy access. Square or rectangular beds are easiest to mow around and manage.
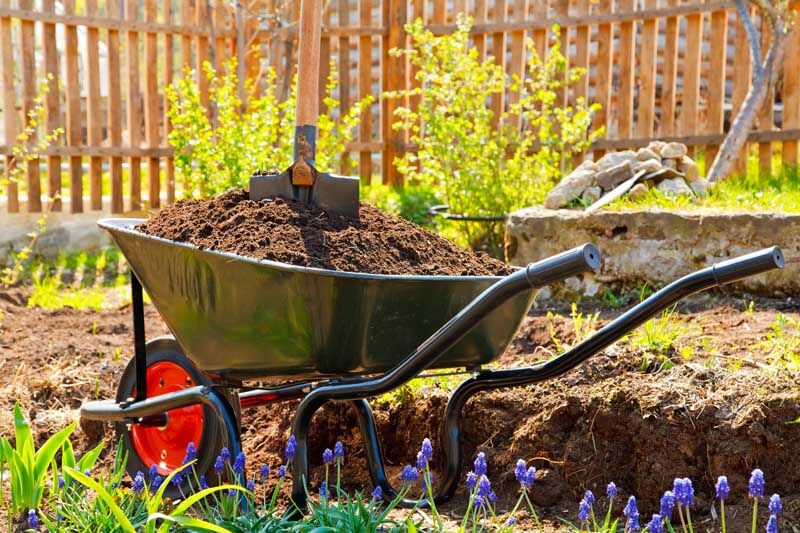
Enrich your soil from the beginning!
Don’t Skimp on Soil: Your garden is as good as its soil. When siting it, choose a well-drained spot. If low ground is a problem in your yard, opt for a raised bed (Click here to learn more about preparing a raised bed garden, and click here for a raised bed plan). For garden success in year one, liberally feed your soil with organic matter, such as our Canadian Sphagnum Peat Moss, or Black Gold Garden Compost Blend, especially if your soil is rich in clay or sandy. Add at least 3 inches of the amendment to the soil surface, and till it to a depth of at least 8 inches. Use the amendment application formula below to determine the amount you will need.
Amendment Application Formula
([area to cover] ft2 x [depth in inches desired] x 0.0031 = ___ yd3).
Example: If you wanted to cover a 20 square foot area with 2 inches of compost, the result would be: 20 ft2 x 2 inches of compost x 0.0031 = 2.48 yd3.
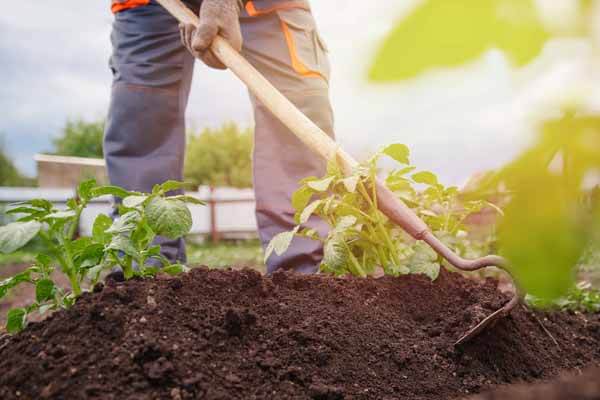
Berming planting areas and covering with compost and straw will save weeding time and boost crops.
Raise and Cover: Tilling and adding lots of fresh organic material will loosen and lift your soil to enhance drainage and aeration for better root growth. To take it one step further, I always rake or hoe soil up into berms to maximize drainage and keep beds light for better root growth. Berming is especially helpful for root crops, like carrots, potatoes, and beets, and deep-rooted plants, like tomatoes. Finally, I add mulches appropriate for vegetable gardens, like seed-free straw, compost, mushroom soil, grass clippings, or leaf mulch, to keep weeds down. I generally put straw along walkways I’ve established in my garden and compost on the planting areas. Avoid bark mulch of any kind in vegetable gardens because it binds nitrogen, which is detrimental to heavy-feeding vegetables.
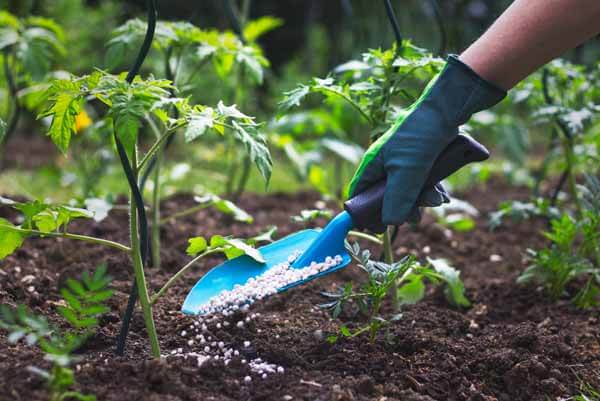
A little fertilizer will go a long way.
Fertilize: Good fertilizer formulated for vegetable growing is essential for bumper crops. Any all-purpose granular or slow-release vegetable fertilizer will do, though I recommend feeding tomatoes with a food specially formulated for their needs. Tomatoes are very heavy feeders that require a wide variety of nutrients to perform their best. Follow the product instructions to keep them well fed.
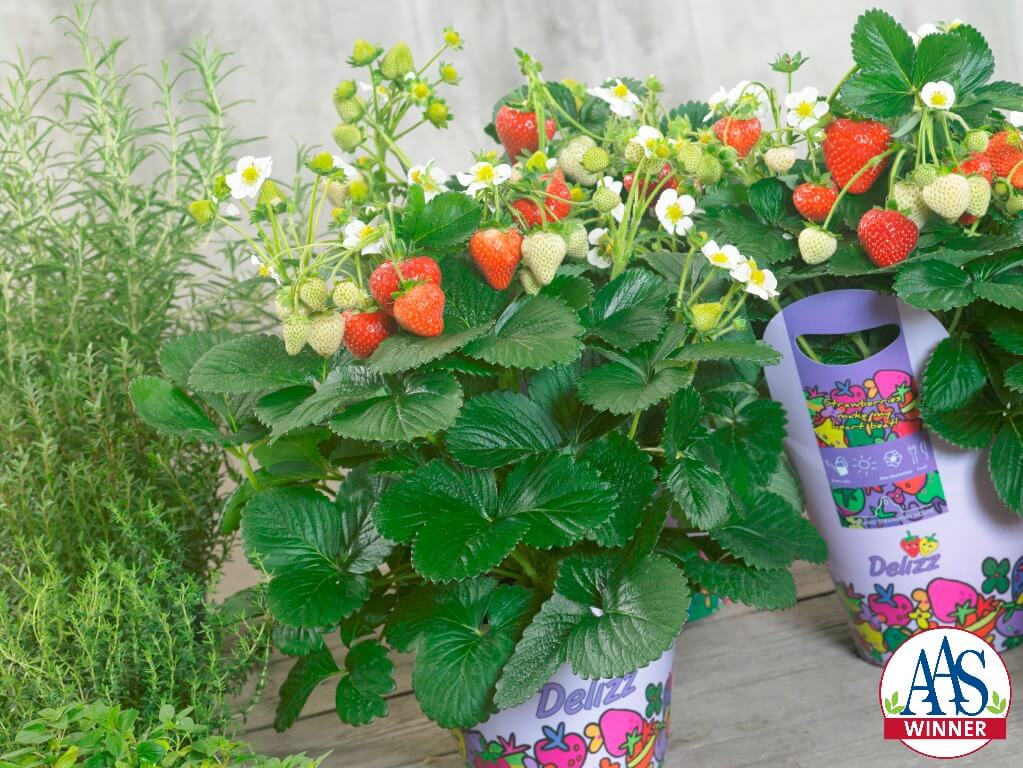
Choose Good Varieties: Don’t pick just any old tomato, pepper, or bean for your garden. Do your research and pick the best when it comes to yields, performance, and flavor. If you are not certain, always select award-winning plants, such as All America Selections Winners. These tend to be as full-proof as you can get. It is also wise to choose disease-resistant varieties, so keep a lookout for these as well. (Click on the links to discover our favorite sauce tomatoes, lettuce, green beans, mini vegetables, carrots, and fast-growing vegetables.)
Lettuce is an easy spring vegetable that needs cool weather.
Know Planting Times: It is essential to know when you can plant a vegetable, what temperature it likes best, and how long it will take to produce. Vegetables are broken down into cool-season and warm-season types, though some will grow well from spring to fall. Cool-season vegetables, like cabbage, lettuce, peas, and radishes, grow best in cool spring or fall weather, while warm-season crops, such as corn, okra, peppers, tomatoes, and squash, need the heat of summer to yield. Some grow very quickly, and others take months to produce. For example, radishes can be ready to harvest in as little as 20 days, but some pumpkins can take 120 days to produce fruit. So, knowing a crop’s days to harvest is important. Finally, you need to know your last frost date (click here for yours) to determine when it is safe to plant tender vegetables and fruits outdoors.
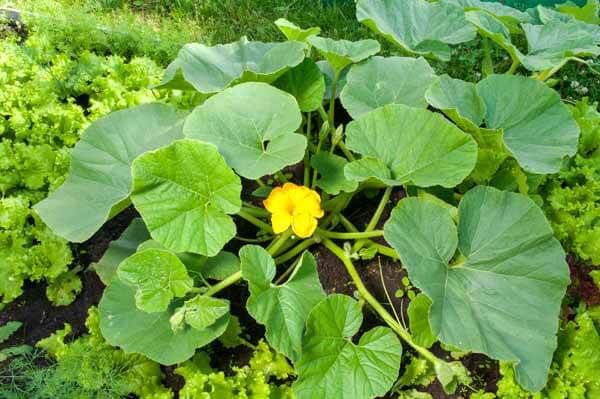
Some pumpkin plants can grow to 20′ across!
Know Plant Needs and Sizes: Identify each plant’s height and width to determine its garden footprint. You also need to know if supports, like tomato cages or bean and cucumber trellises, will be needed. One important tip for tomato growers is that bush (determinate) tomatoes only reach 1-3 feet and need small cages or stakes, but vining (indeterminate) tomatoes can reach 6-8-feet high and wide, so tall, strong cages are required. Follow spacing guidelines to give your vegetable the space they need to blossom.
When ripe, tomatoes are fully colored and give slightly when pressed.
Know When to Harvest: When is it ripe? Tomatoes and peppers will be fully colored when ready to pick. Beans should be plump and reach the advertised length. Zucchini and summer squash are best harvested small but firm. And, you will know when beets, carrots, and radishes are ready to harvest when their bulbous tops become visible along the soil surface. If you are not sure when to harvest a crop, ask us through our free horticultural advice service, Ask a Garden Expert.
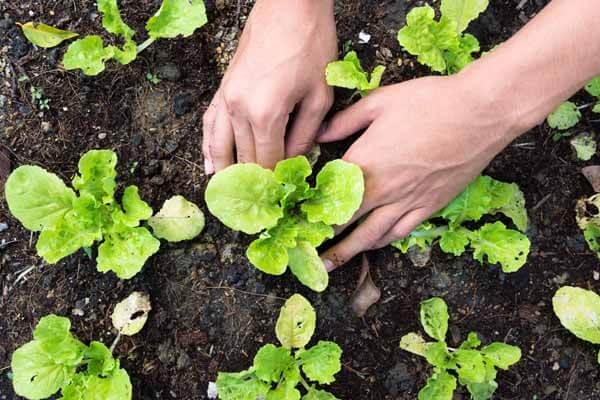
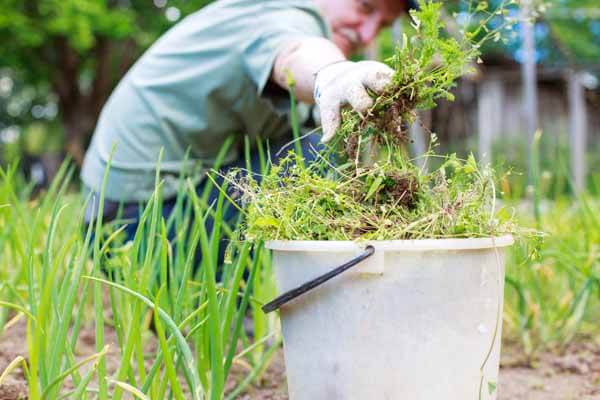
Removing weeds as you see them will keep them from taking over.
Keep It Clean: Weed, weed, and weed some more. Even when you mulch your beds, they will arise. Weeds compete with vegetables for resources and can quickly overwhelm a garden if ignored. They may also harbor diseases and attract pests. Pull or hoe weeds as you see them. Even if you weed every few days or even every week, you will have few to no weed problems, which will give you more time to focus on plant care and harvest. Investing in good weeding tools makes the task lighter. I am never without my weeding knife (Hori Hori), strong hoe (Prohoes are the best), and Korean hand plow (Ho-Mi).
Reach out to friends, family, books, and online references when you have gardening questions. There’s always more to learn and new plants to discover. And, if you can’t find an answer, ask us a gardening question for free at Ask a Garden Expert. You can also search the hundreds of questions we have already answered. It’s our goal to help gardeners succeed.
Your once beautiful house plant has begun to look stressed. Maybe it’s lost some leaves, quit growing, needs more frequent watering, and has visible roots on the soil surface. Then you remember that it’s been three years since you repotted it…That means it’s time to upgrade its container home for better growth and overall appearance.
General House Plant Repotting Notes
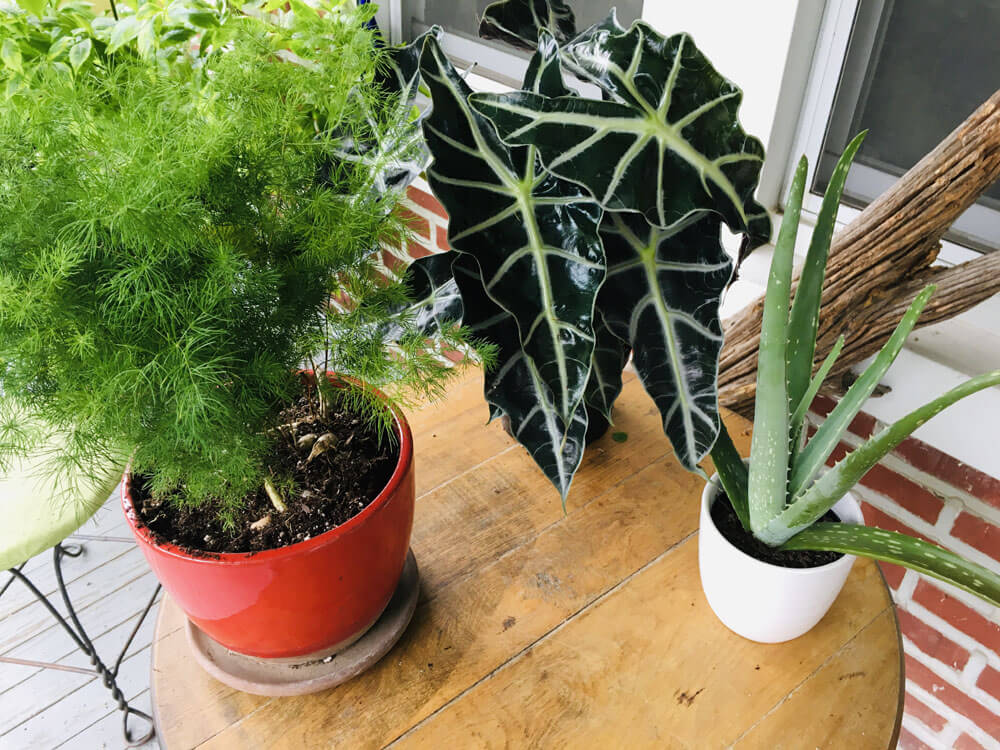
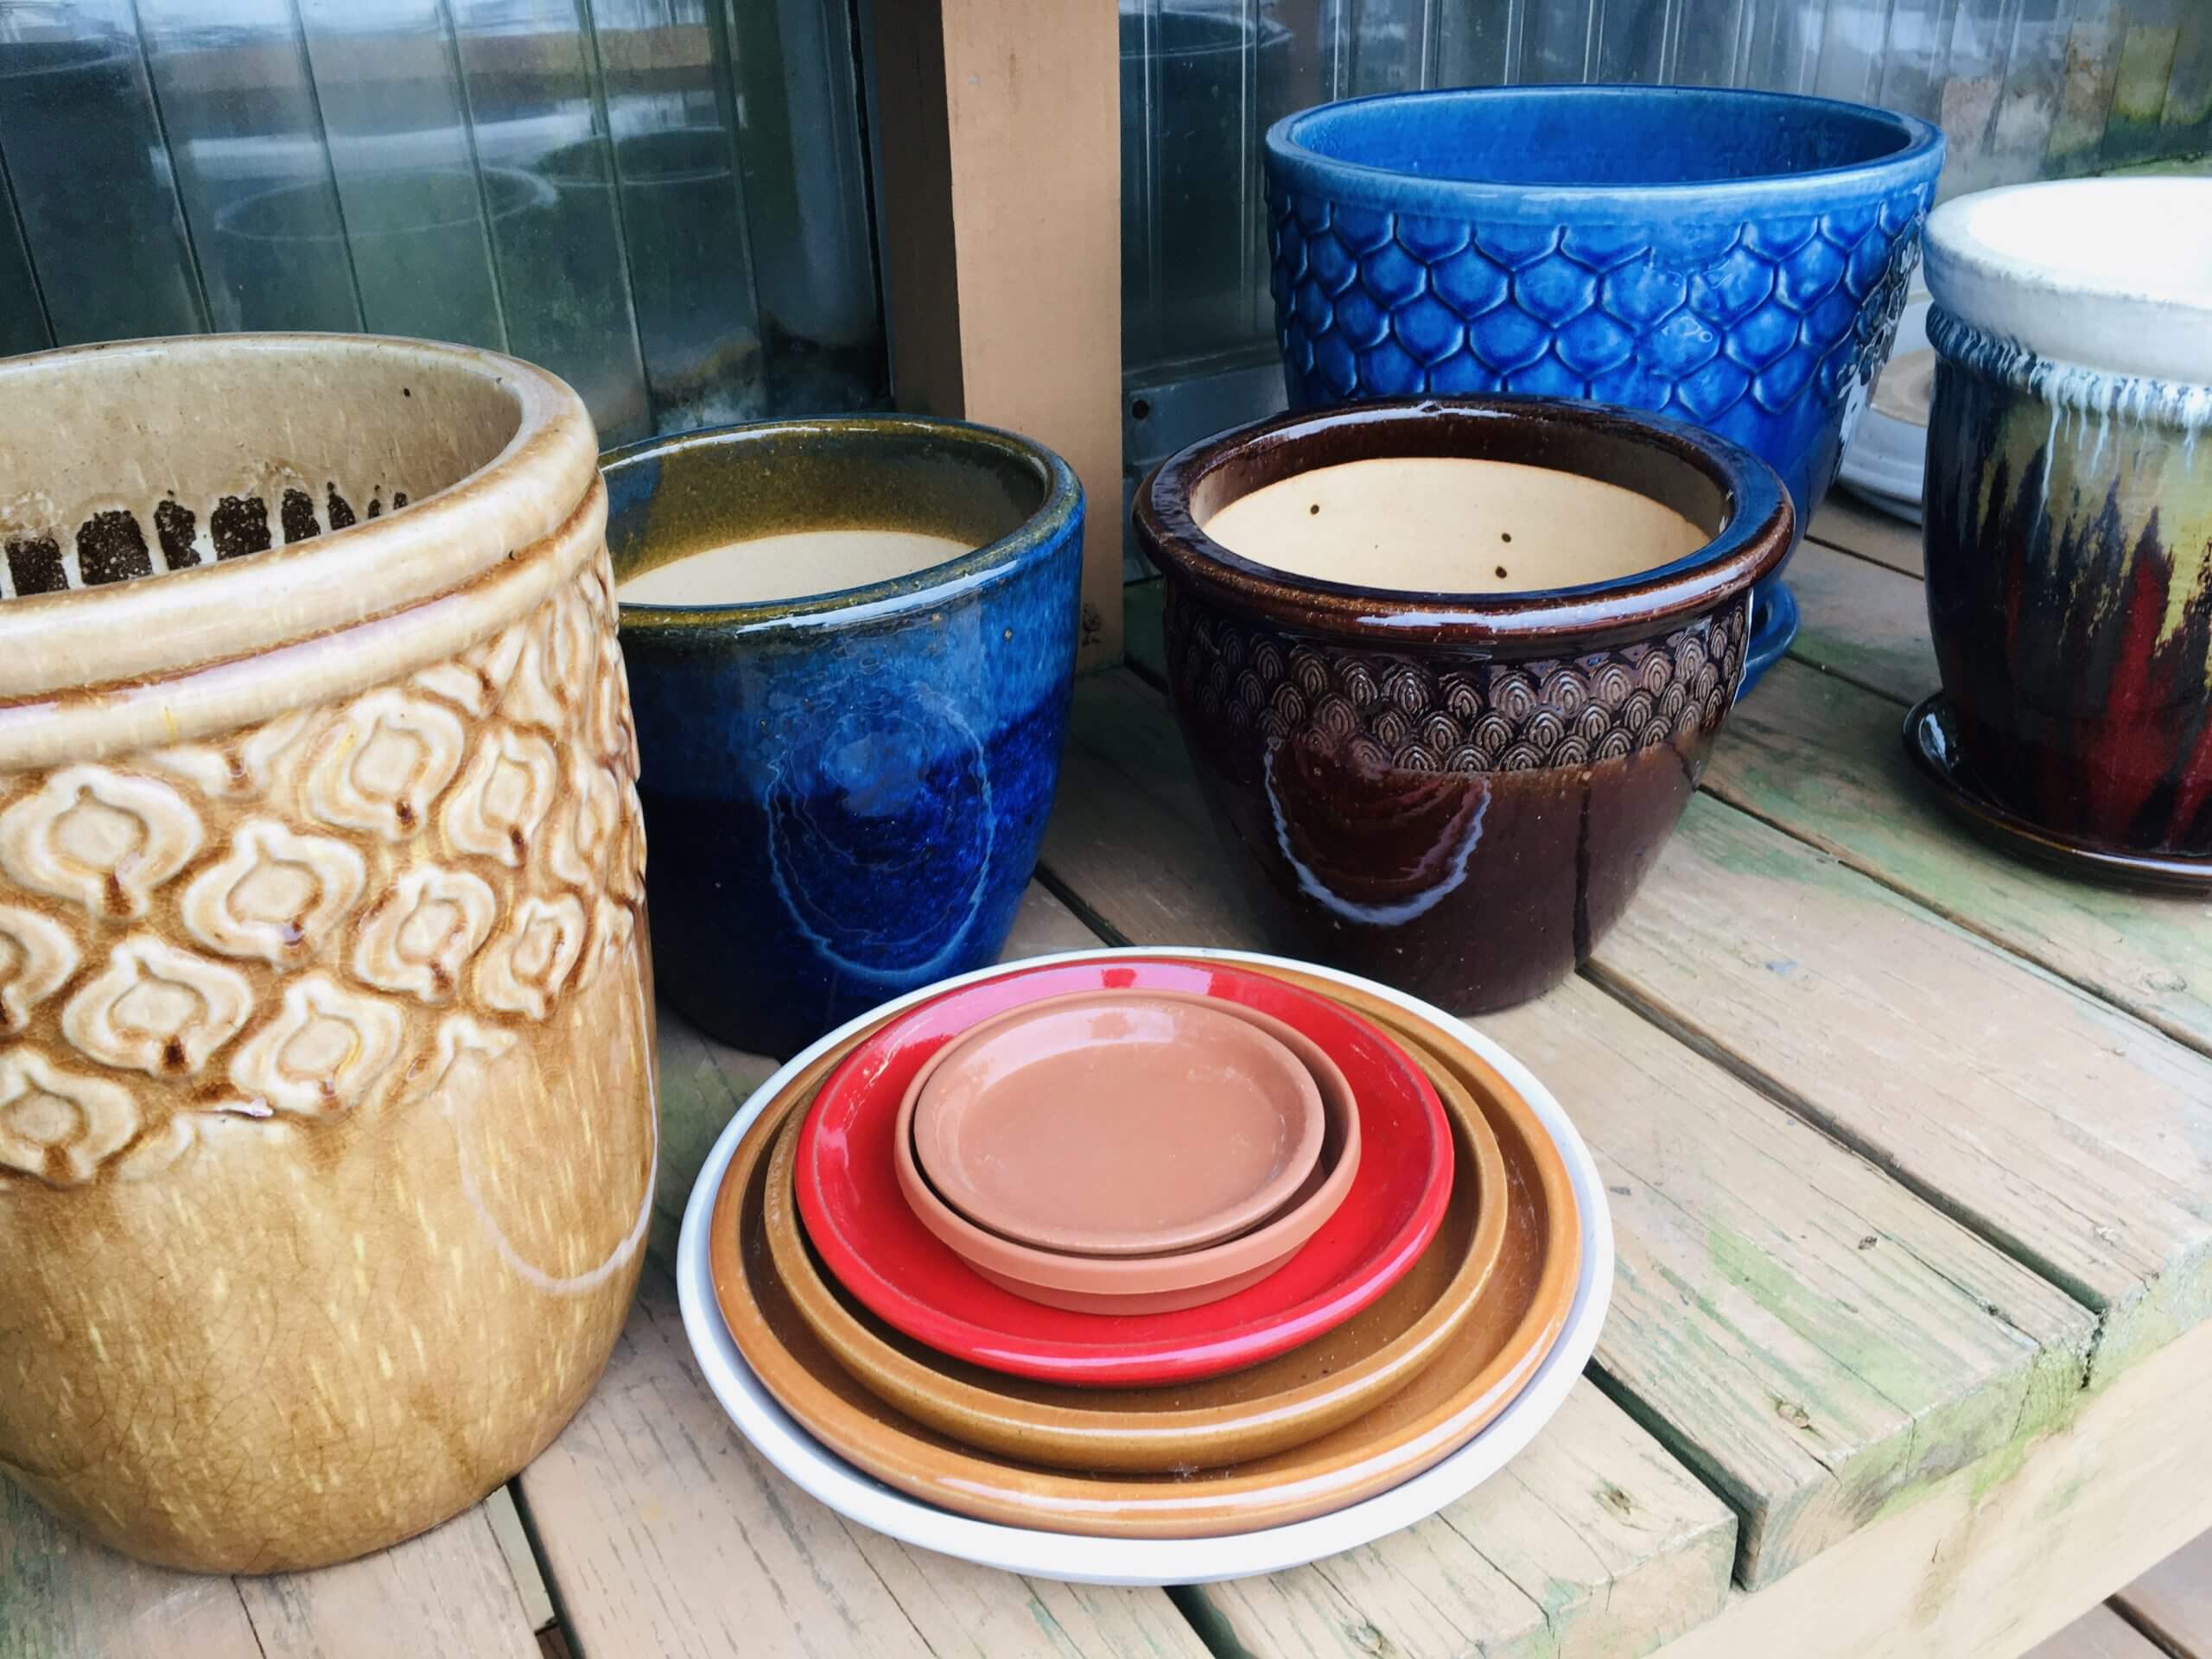
All of these plants need to be repotted. To save money, I plan to pot the aloe in the red pot of the Ming fern asparagus. (Image by Jessie Keith)
Different plants have different potting needs–cacti need excellent drainage, most orchids grow best in bark, and hanging baskets like moisture-holding mixes–but there are also a lot of general requirements. Unless you are growing aquatic plants, all potted plants need pots and soils that drain well. Good light is required, so know a plant’s light needs before you try to grow it in your home to make sure that you can support its needs. Supplemental light is an option, but it is never as good as natural light. All potted plants require fertilization at different levels with different foods. When growth ramps up, all plants need more water, and when growth slows down, all plants need less water.
Pick the right-sized pot with drainage holes and a saucer to catch water. I like thick. heavy ceramic pots that last for years. (Image by Jessie Keith)
Finally, repotting is best done in spring, before house plants do most of their active growing, or in late summer to fall when they can grow a little before winter. I find that most house plants grow better it brought outdoors in summer. Just be sure to clean them up well before bringing them back indoors before frost. (Click here to learn how to clean plants before bringing them indoors.)
Repotting House Plants in Six Steps
Good repotting technique is done in six easy steps. You just need a new pot, fresh potting soil, fertilizer, water, gloves, and pruning shears.
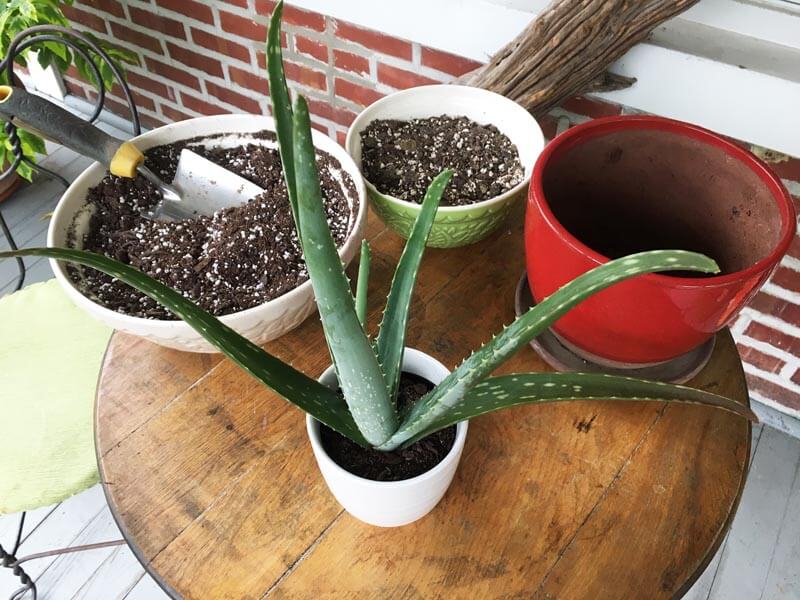
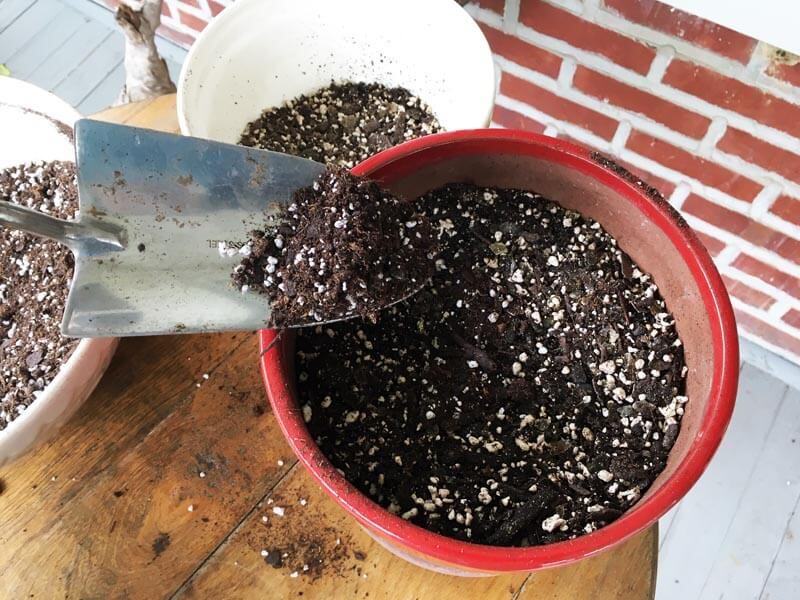
After cleaning the red pot, and preparing my potting soils, my aloe is ready to pot! (Image by Jessie Keith)
Pick Your Pot: Select something beautiful that you will want in your home for the long haul. There is no reason to have plain plastic pots when you can have elegant ceramic ones. Pick pots that are 2 to 6 inches bigger than the original. Small, slow-growing plants need pots that are just a bit bigger, and large, fast-growing plants need larger pots. Deep-rooted plants need deeper pots and shallow-rooted plants need shallow pots. All containers should have good drainage holes unless you are growing an aquatic plant. (Click here to learn how to plant potted water lilies.) Fast drainage encourages water flow and aeration, which roots need. Pick a sturdy saucer to catch water. Water-impermeable pots, like resin, grazed ceramic, or stone, hold water better. Pots made of TerraCotta and cement are porous and lose water more quickly. If you inherit a pot with no drainage holes, drill holes in the bottom with a pointed drill bit. (Be sure to wear gloves and safety goggles.)
Pick Your Soil: Common house plants grow well in any good-quality, all-purpose potting mix, such as Sunshine® All Purpose Potting Mix or Natural & Organic Professional Growing Mix. Some plants, like African violets and cacti & succulents, need specialty mixes with different levels of drainage and water-holding capacity. That’s why we make amendments, like Sunshine® Canadian Sphagnum Peat Moss, Perlite, and Vermiculite. You can mix your own to create mixes with faster drainage by adding perlite, or increase water-holding capacity by adding vermiculite and peat. Hanging baskets need extra moisture, so we recommend a mix with high water retention, like Sunshine® Container Potting Mix.
The roots of this Aloe were pot-bound but have been slightly loosened for better growth in the new pot. (Image by Jessie Keith)
Prune Shoots and Unbind Roots: Remove any dead or unwanted stems and loosen any intertwined (pot-bound) roots, so they will grow well into the new pot and mix. Gently tease tightly-bound roots apart. If they are very dense, make cuts along the base and loosen the roots along the cuts. If your plants look good and their roots are not tightly bound, then bypass this step.
Aloes grow well in a mix of 3/4 Sunshine All Purpose Potting Mix and 1/4 Perlite. Be sure to leave a 1-2 inch space at the top for watering. (Image by Jessie Keith)
Repot: Remind yourself to leave at least 1-2 inches at the top for water. Place screen or a few pebbles over the bottom holes to hold soil (not necessary for my red pot with a built-in saucer and side drainage holes). Then add a layer of soil at the bottom. Place the plant in the pot and center it. Make sure it is not too high or low. Add mix to the sides and gently pack it in for good root-to-soil contact. Make sure there are no holes in the soil. Level the top, and add any decorative pebbles, moss, or shells along the soil, if you like.
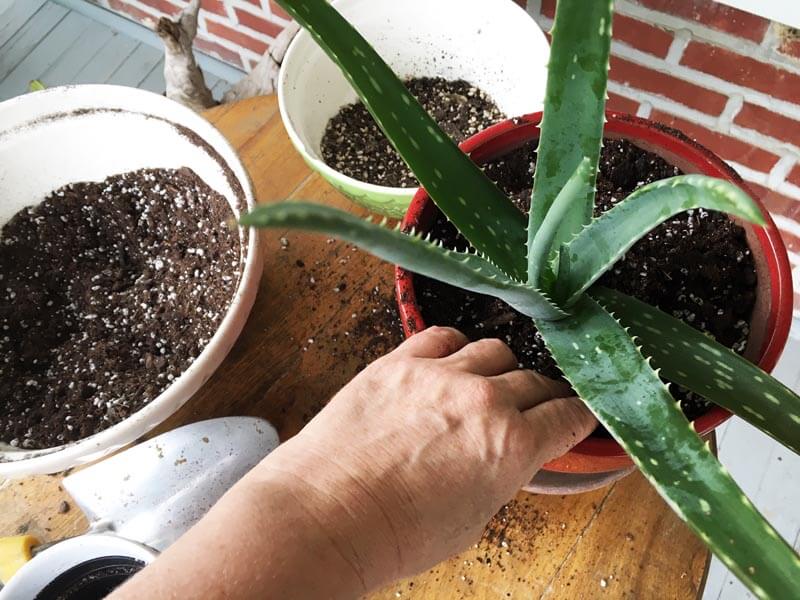
Lightly pack the soil along the sides. This is a good time to add slow-release fertilizer. (Image by Jessie Keith)
Fertilize: Pick a fertilizer that’s well-matched to your plant. There are many specialty types for orchids, succulents, and foliage plants. Be sure to follow the product instructions. I like using slow-release fertilizer, such as Proven Winners Continuous Release Plant Food.
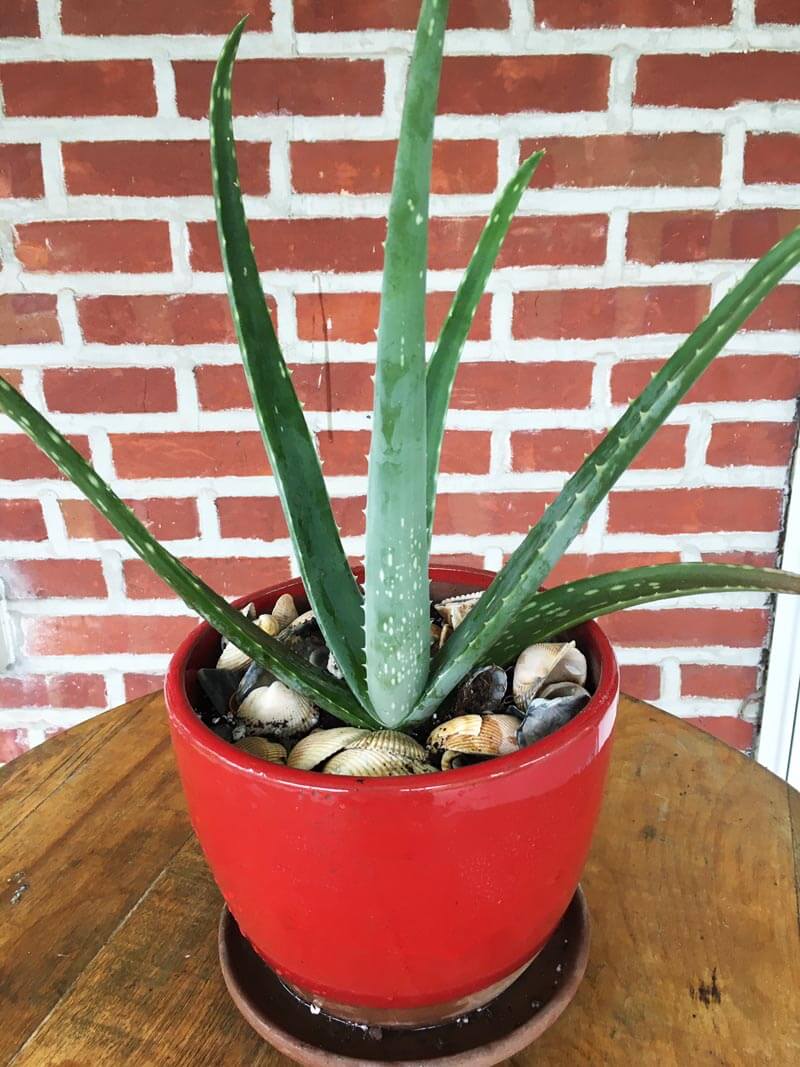
Topdress with shells of pebbles, if you like, water the plant in, and it is potted! (Image by Jessie Keith)
Newly potted house plants will not produce new top growth until they set new roots, so give them extra good care and a little time. Very soon they will be growing happily as if they had never had a problem in the first place.
What are the best LED grow lights for indoor growing of herbs and vegetables? » Question from Terrance of Eau Claire, Wisconsin
Answer: It is essential that LED lights be labeled as « full-spectrum » for indoor growing. Without going into too much detail, LEDs must provide light at the wavelengths needed for full plant health, growth, and flower and fruit production. This is because plant chlorophyll gathers light at wavelengths over a broad spectrum (view the chlorophyll wavelength chart by clicking here).
There are lots of companies that produce full-spectrum LEDS for indoor growing. Some of the more respected names in LED grow lights for serious growers and pros include California Lightworks, Fluence Bioengineering, and Lumigrow. Smaller LED grow-light sets for hobbyists are also available. Look for good reviews to get a sense of quality and customer satisfaction.
Large LED grow light systems can be quite pricey, but they work the best. If you invest in some, be sure your plants are placed close enough to the bulbs for good growth and spaced well to capture full light on all sides.
Still, no indoor grow light works as well as natural sunlight. A room lit with skylights, a sunroom, or a greenhouse will always give you the best growing results.
Big, beautiful beefsteak tomatoes are what every avid tomato grower wants. Large yields of monster tomatoes are not difficult to achieve if you follow a few basic tips. Good growing practices will give you enough fruits to enjoy all summer and share with your friends.


